The Office Deployment Tool (ODT) is a very effective and easy-to-use tool for configuring Office 360 ProPlus on your client’s computer or deploying Microsoft Office on a larger scale. It is a Windows Command line tool that offers great functionality to create and deploy Microsoft Office 360 seamlessly as you would normally do on a Cloud Platform. The Office Deployment tool can help you to save time as well as money by eliminating the lengthy installation process.
After researching and using the tool for a few months now, We have come up with a perfect guide to help you install Microsoft Office using the Office Deployment tool in just a few minutes. This is a step-by-step guide and you can successfully install the software by just following the given steps.
What is the Microsoft Office Deployment Tool
Before proceeding further, let’s understand the working and usage of the Office Deployment tool for a better understanding of the installation process.
The Office deployment tool (ODT) by Microsoft is the latest tool for businesses and tech-support companies to install Microsoft Office 365 and its related apps such as Microsoft Excel, Powerpoint, Word, Outlook, and many more using a simple command-line interface. This tool is used to install Microsoft 365 and its associated apps on your client computers.
The ODT tool gives you more control over the installation process such as which Product/App you want to install or which language to select, etc. It also helps you with cloud storage and product updates with very easy tools.
How to Use The Office Deployment Tool
Now that we know the usage and working of the Office deployment tool. Let’s see how you can use it to install Microsoft Office 365 on your client computer.
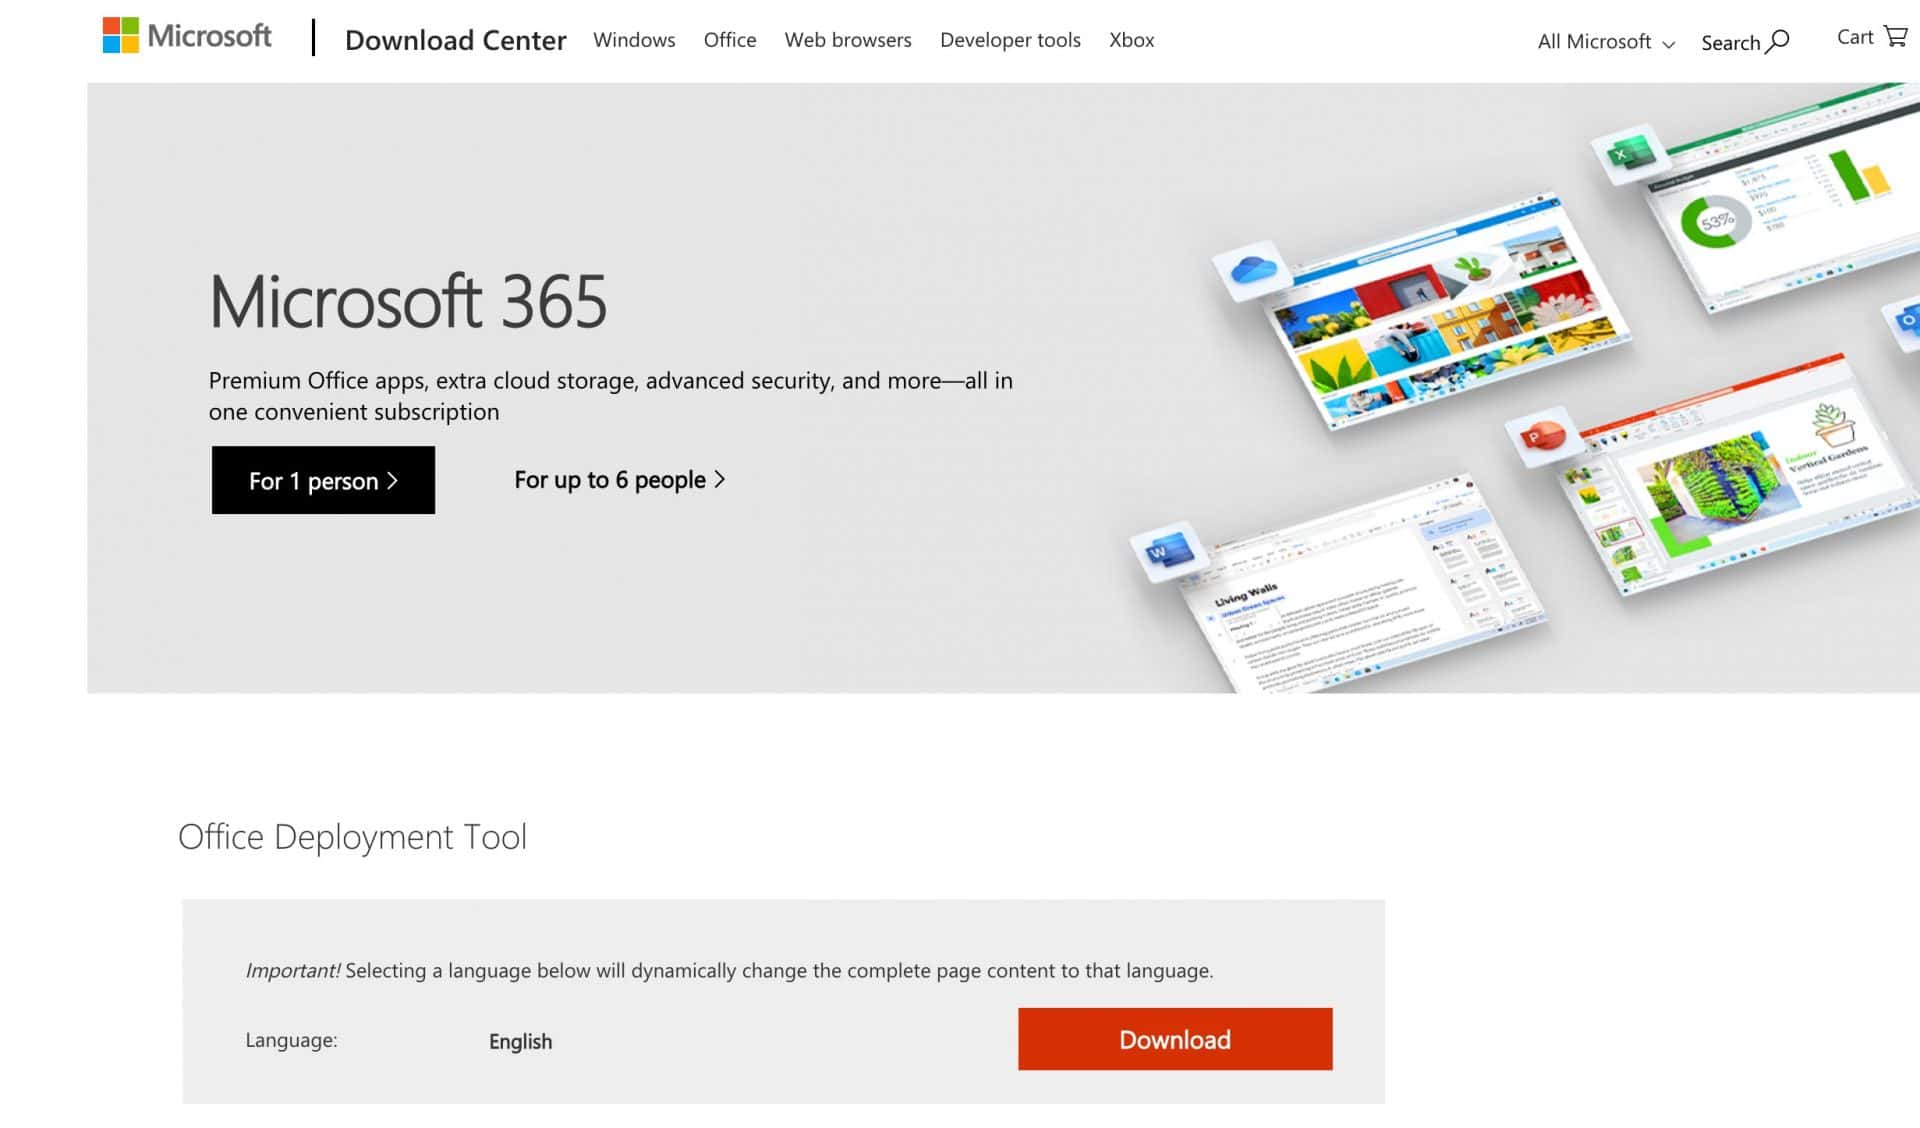
Step 1: Download the Office Deployment tool from Microsoft.com
The very first step is to download the latest version of the office deployment tool from the official website. The program is available for Windows 10, 11, Windows 8.1, Windows Server 2016 & Server 2019. You might have to select the appropriate version before clicking the download button.

Once you have downloaded the tool, Right-click on the zip file and select the “Extract Here” option to extract the files.
Step 2: Prepare your XML Configuration file (Custom)
once you have successfully downloaded and installed the Office Deployment tool, the next step is to prepare your XML Config file that contains the installation instructions for Office 365 such as Specifying the products to install, language, and other installation options.
To Create the XML file, you can either use a default text editor such as Notepad or download a third-party tool such as Sublime Text or Notepad++. Windows also offers you a tool called Office Customization tool (OCT) to edit this file.
For this tutorial, We will give you an example of an XML file for Office 2019. Before Proceeding, please open a text editor such as Notepad on your Windows PC and Press “CTRL + S” or Save the file with the name “Config” and extension “.xml“. For example, Config.xml. For more information on creating an XML config file, you can refer to the Windows Deployment tool’s Documentation page.
Below is a sample of the Config.xml file that you can copy and paste into Notepad.
<Configuration>
<Add OfficeClientEdition=”64″ Channel=”CurrentPreview”>
<Product ID=”O365ProPlusRetail”>
<Language ID=”en-us” />
<ExcludeApp ID = “OneDrive” />
<ExcludeApp ID = “OneNote” />
</Product>
</Add>
</Configuration>
Once you have created the config.xml file, Save it in the same folder where the Office Deployment tool files are saved.
Step 3: Preparing Your Configuration file using the Office customization tool
Office customization tool is a free online tool offered by Microsoft to create your Custom XML configuration file. This tool is easy to use and offers you a lot of options to manage your installation.
Below are the steps to generate your XML Configuration file for office deployment tools using the OCT.
1. Visit the office customization tool page on the Microsoft website by visiting this link.

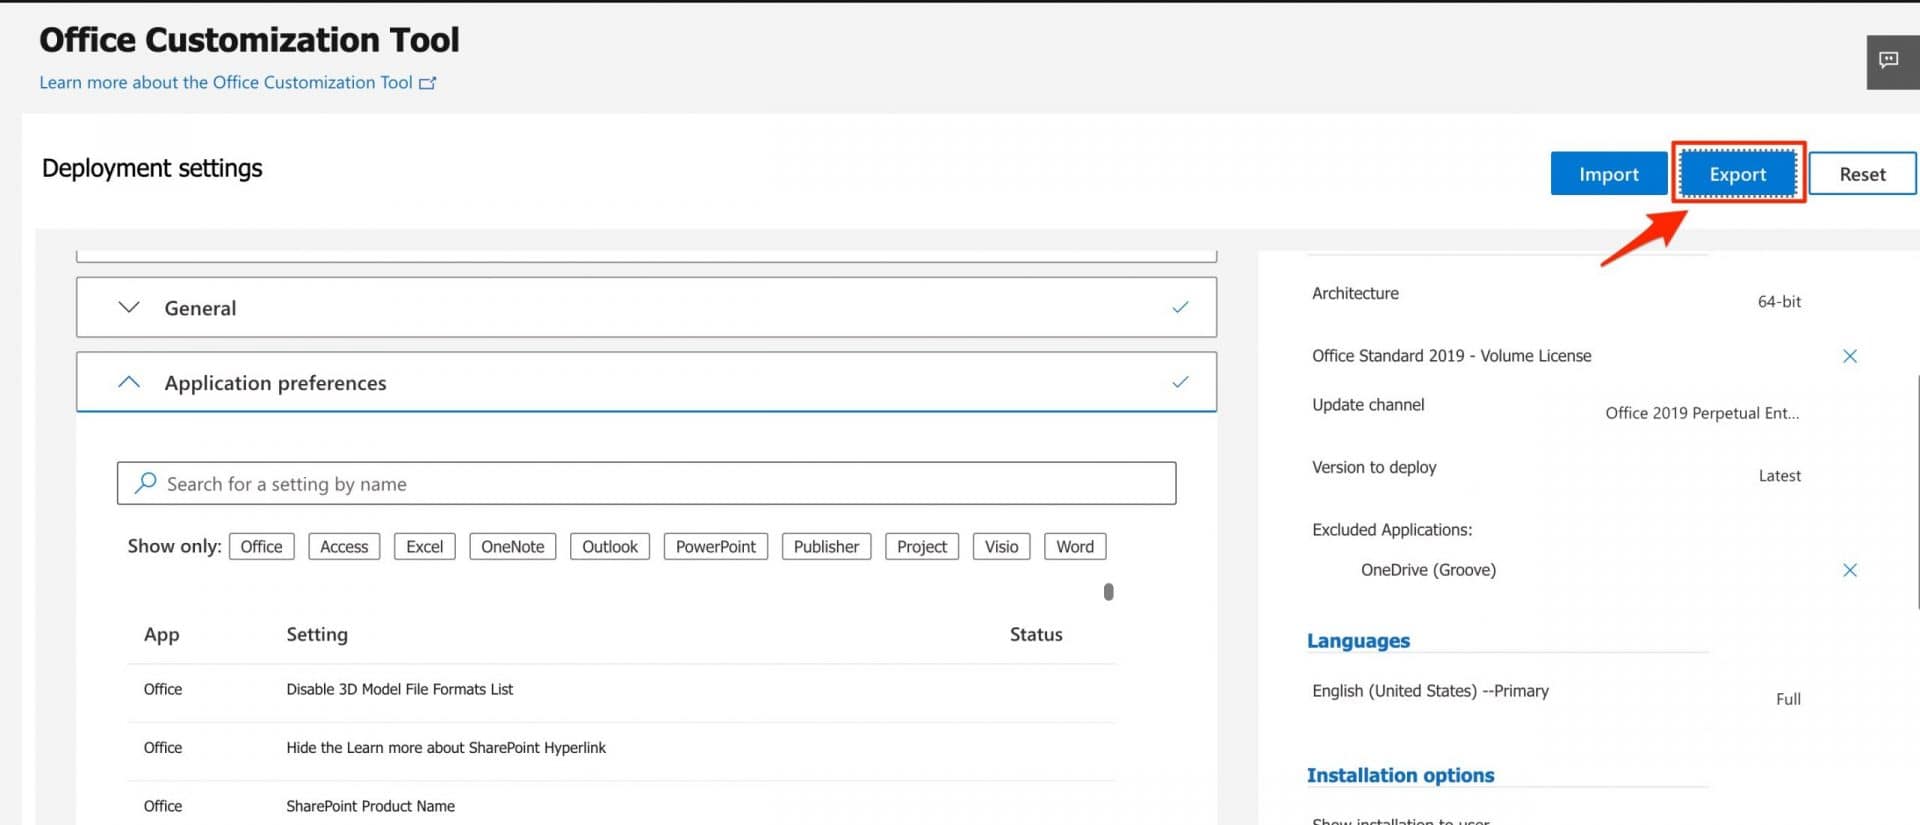
2. Under the Deployment settings, You will find many options such as Products and releases, Language, Installation, updates, Upgrades, etc. Just click the down arrow beside every option and select your appropriate setting.
3. For this tutorial, We will be using the following settings for generating the XML file.
Architecture – 64-bit.
Office suites – Office standard 2019.
Visio, Project, Additional Products – Blank
Language – English (United States)
Leave all other options as it is except for application preference. Under this option, select the applications you want to install on your computer.
Finally, Click the Export button given at the top-right corner of your screen, Accept the terms and conditions and your configuration.xml file will be downloaded.

Step 4: Download office Source files
If you have not already downloaded the office installation files then this step is a must for you. Else, if you already have the files on your System then you can skip this step.
To Download the office source files, open the command prompt Window on your Windows PC by typing “CTRL+R” and entering “CMD” in the dialog box. On the Command prompt window, Head over to the folder where the Setup file and config.xml files are saved and enter the following command.
“setup.exe /download config.xml” (Without quotes)
Step 5: Download the Office 365
Once you have the installable files downloaded on your Client’s Computer, it’s time to install and configure them on the PC. On the command prompt window, enter the following command.
“setup.exe /configure config.xml” (Without quotes)
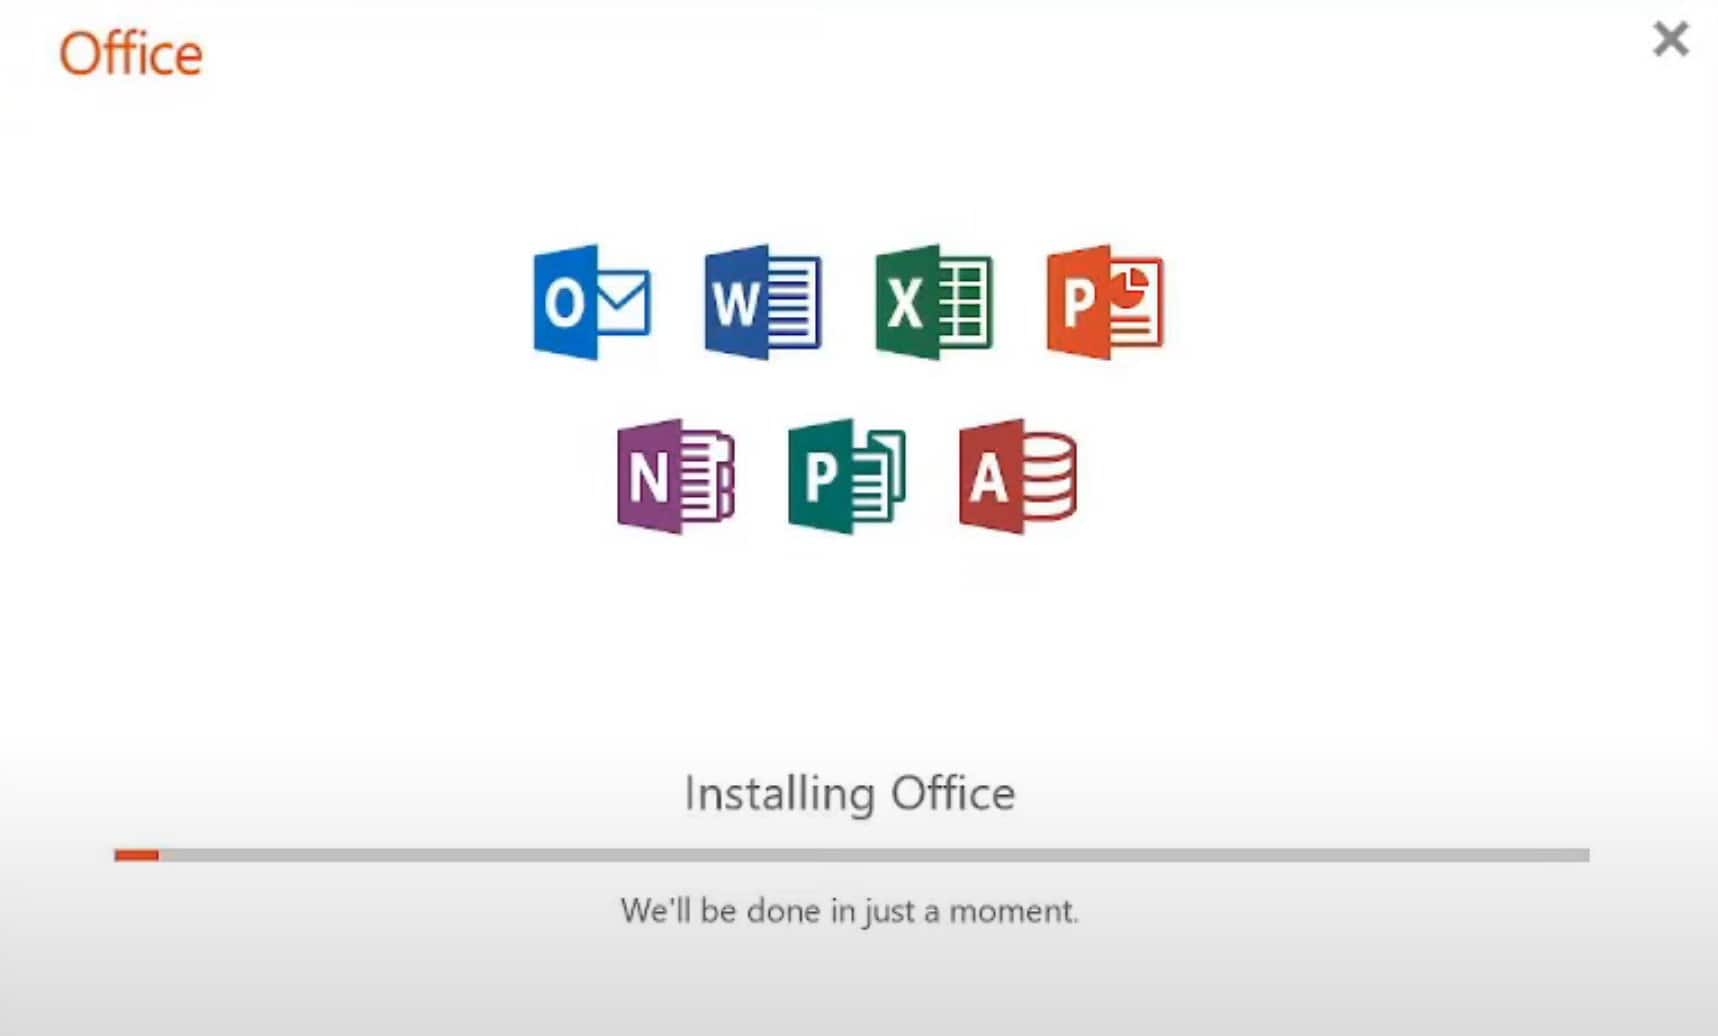
Now the installation window will appear and the selected Microsoft Office Apps/Programs will begin to install. Just wait until the process is completed and then you can start using the Office Apps instantly on your Computer.

Conclusion:
This method of installing Microsoft Office or its related apps might be new for some people, but it is one of the most effective and easy ways to get Office installed on your Computer. Needless to say, it also gives you more control over what you want to install and how you want it to be installed on your PC.
Creating the Configuration XML file might be a trick as you can get confused because of the code, however, you can use the Office Customization tool (OCT) to overcome this limitation and just download your configuration file as per your needs.
Please let us know if you need any further information regarding the Office Deployment tool by Microsoft. You can ask your questions or queries by commenting down below.
